
 minipc.de
Tutorials
Microsoft Windows Home Server (Installation Tutorial)
Microsoft Windows Home Server (Installation Tutorial)
Preamble
We will show you in this article how to install Microsoft Windows Home Server.
We will explain two different methods :
"Stand-Alone" Installation
Explains the installation on a Standard-PC with Microsoft Windows Home Server as the only installed
operating system.
Requirements :
- Min. 512 MB RAM
- Min. 160 GB Harddrive
- DVD-Drive
Optional :
- Internet-connection via DHCP (for Installation of updates)
"Virtuelle" Installation on Debian Linux
Explains the virtual installation on a Linux-Host-System. The benefit of this method is that the PC also can be used for other applications
like Router, Firewall, Samba-, Web-Server, etc... . In addition the later migration/move of the Home-Server-installation to another PC
is as easy as copying files.
Requirements :
- Min. 1024 MB RAM
- Min. 250 GB Harddrive
- Internet-connection via DHCP (for Installation of updates and needed programs)
Stand-Alone Installation
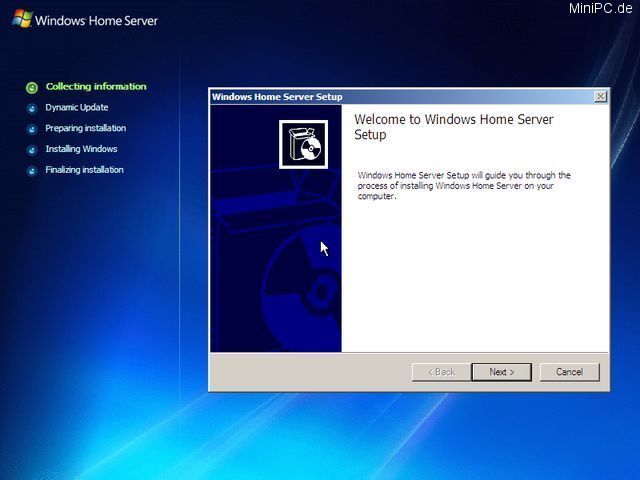
Atfer inserting the Installations-DVD we get to a first confirmation page after boot-up.
Choose "Next". In the next selection select tje harddrive to be used for installation.
If you only have one harddrive, then this will be "Disk 0". Choose it and confirm with "Next".
In the next screen select "New Installation".
Now choose your timezone and keyboard layout.
The Microsoft-declaration has to be confirmed for beeing able to continue.
("I Accept this agreement").
Enter your serial number (you also can enter it after the installation is completed)
Enter a server name (eg. "MyHomeServer").
Confirm that all data on the HDD will be deletest.
("I acknowledge that all data on these drives will be lost")
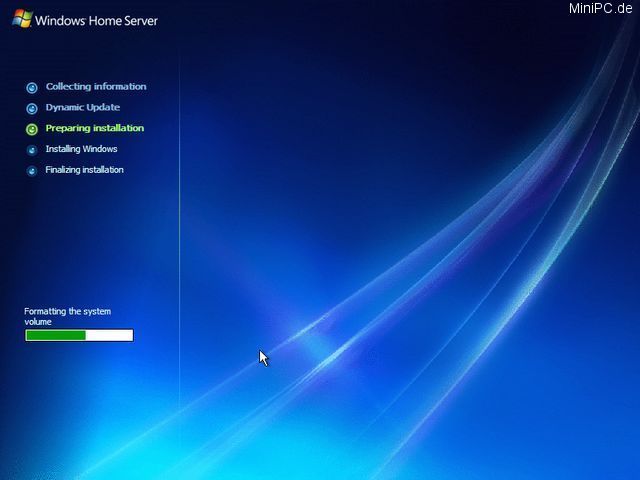
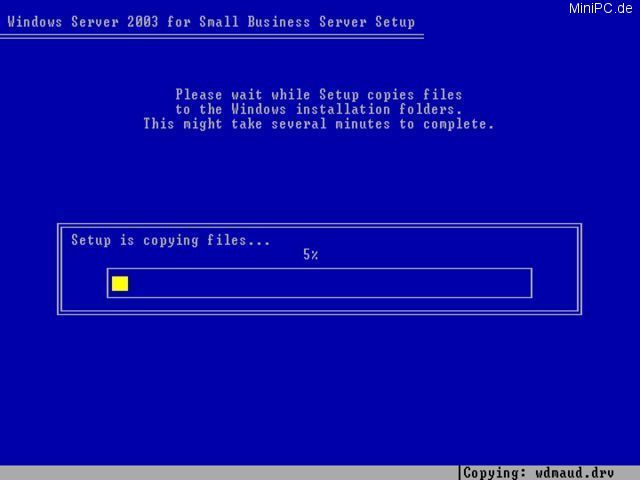
Again conform with "Yes" and after clicking on "Start" the installation will begin.
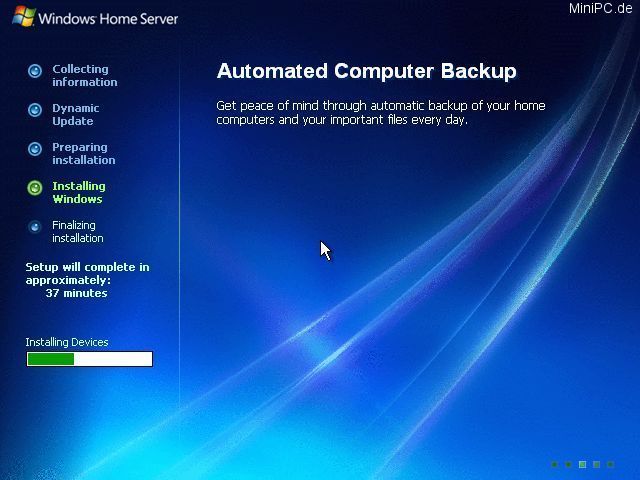
Within the next ~30 Minutes the system will be rebootet 6 times.
During this time you do not have to enter any data so you also can leave the installation alone.
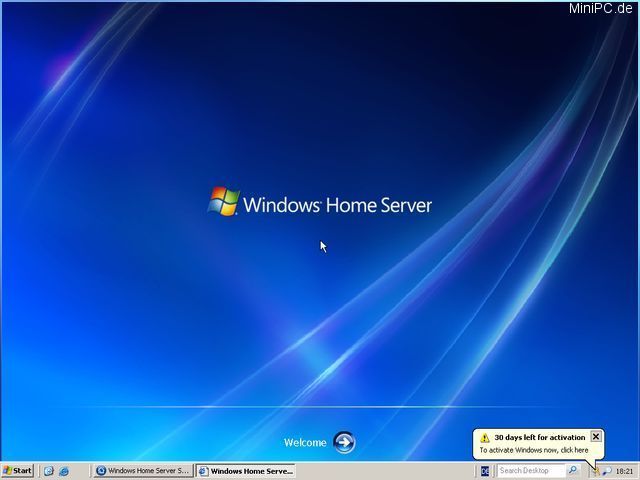
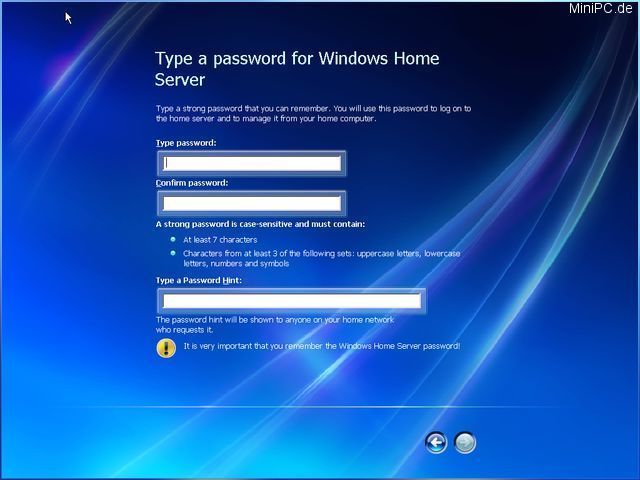
After the sixth reboot the Welcome-screen pops up. Confirm it and enter a Master-Password.
Read the instructions below the password fiels carefully as the system will not continue if your password does not meet
some requirements.
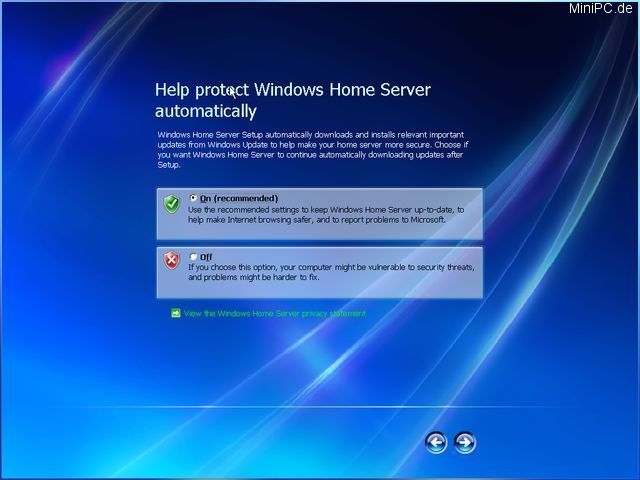
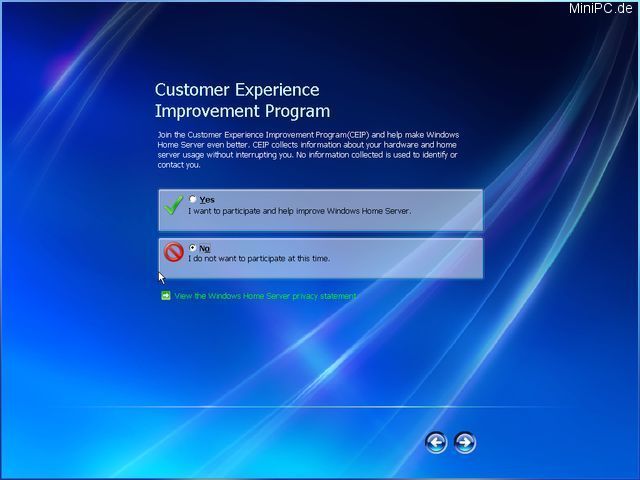
In the next 3 screens you can configure AutoUpdate (we recommend "Yes"), Customer Experience ("No") and Error Reporting ("No").
Now the installation of your Windows Home Servers is finished. Congratulations !
Install now on all Client-PCs, with those you want to use the automatic backup-function of your Home-servers, the
"Server Connector"-software.
Back |
Virtuelle Installation - Part I |
Virtuelle Installation - Part II |
Virtuelle Installation - Part III |