Tutorials
Microsoft Windows Home Server (Installation Tutorial)
Microsoft Windows Home Server (Installation Tutorial)
Virtuelle Installation (Part I - Basis installation)
For the "virtual" installation you first have to install the Host-System, in our case Debian Linux.
Download the latest "Netinstall"-Boot-Installation-CD from www.debian.org and burn it on CD.
In our example we used this version :
http://cdimage.debian.org/debian-cd/4.0_r1/i386/iso-cd/debian-40r1-i386-netinst.iso.

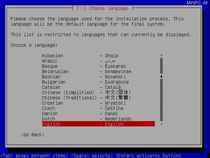
Boot from the freshly burned CD.
At the first boot-screen confirm with the
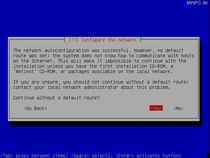
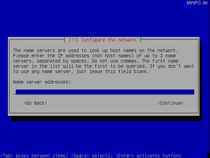
These screen messages (questions for Defaultroute and Nameserver) will only popup if you do not have a DHCP-server.
Set the corresponding values for enabling Internet-access. Later during installation time we need access to the Internet for
beeing able to install additional components.
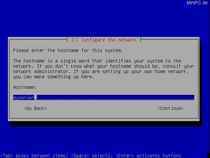
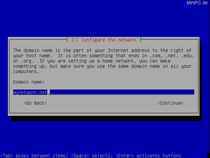
Enter an hostname for the system (eg. "myserver") and a network name (eg. "mynetwork.net").
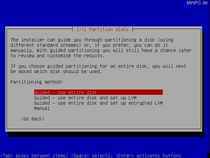
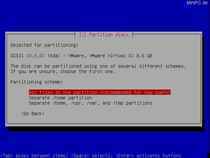
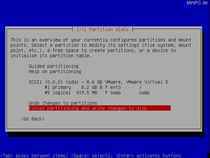
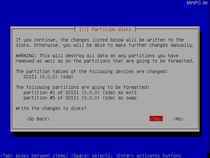
Now the system will partitionate the harddrive. Choose "Guided - use entire disk", and confirm the HDD in the next screen.
Now choose "All files in one partition", and in the next screen confirm with "Yes".
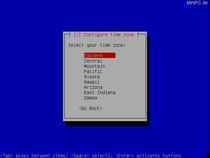
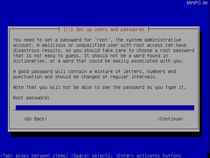
Now set your timezone and enter an root-passwort. Write down this password. It is the key for your whole system !
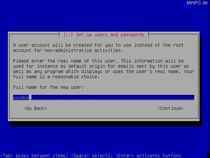
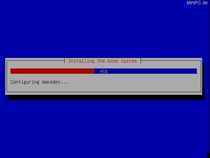
Enter a login name for a standard user account to be created. In the next screen enter a password for this account.
After this step the installation routine will copy some files.
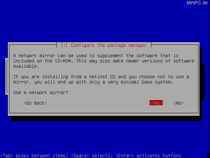
Choose a network data storage server. From this server your system later can install additional programs.
Confirm with "Yes" and choose a server. Optional you can enter proxy-servers (If you do not know what to enter, then enter nothing).
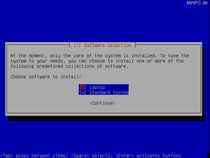
In the next screen choose "Standard System".
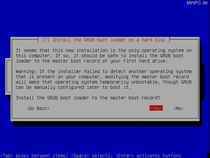
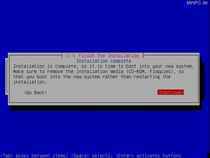
At the last screen Debian will ask if "Grub" shall be used as Boot-Loader. After your confirmation with "Yes" the last step
of the interactive part of the installation is finished.
Standalone Installation |
Virtuelle Installation - Part I |
Virtuelle Installation - Part II |
Virtuelle Installation - Part III |


 minipc.de